SimpleVG › Tutorial › Chapter 9

Chapter 9: Tracing an Image

Goal Place a sketch, photo or scanned drawing behind your work, and trace over it with the drawing tools to produce clean vector shapes.

Often you start from something that already exists: a hand sketch of a plant layout, a scanned P&ID, a logo or a photo of a machine. SimpleVG lets you put that picture on a background layer and draw over it.

Part 1: The Trace Image tab

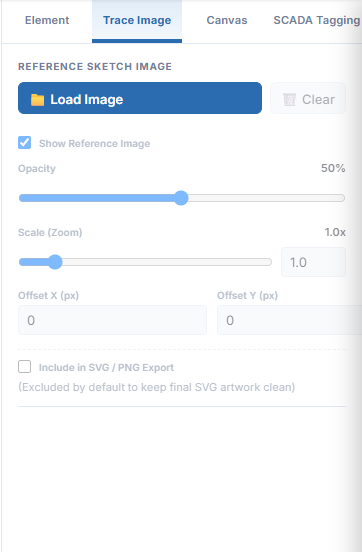
Click the Trace Image tab at the top of the Inspector.

The Trace Image tab of the Inspector with Load Image and Clear buttons and the controls greyed out

The controls are greyed out until you load a picture. Click Load Image and choose a PNG, JPEG, SVG, WEBP or GIF file.

As soon as a picture is loaded, the controls come to life. You can now show or hide the reference, fade it, scale it and move it. We look at each of them in the next part.
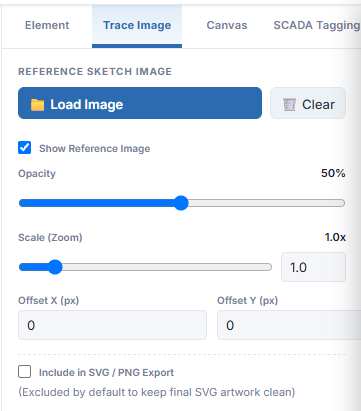
The Trace Image tab after loading a picture, with the Show Reference Image checkbox, Opacity, Scale, Offset X and Y and the export option all active

Part 2: Place the reference

The picture appears on its own layer, underneath everything you draw. It does not get in the way: clicks and drags pass straight through it, so you cannot select or move it by accident.
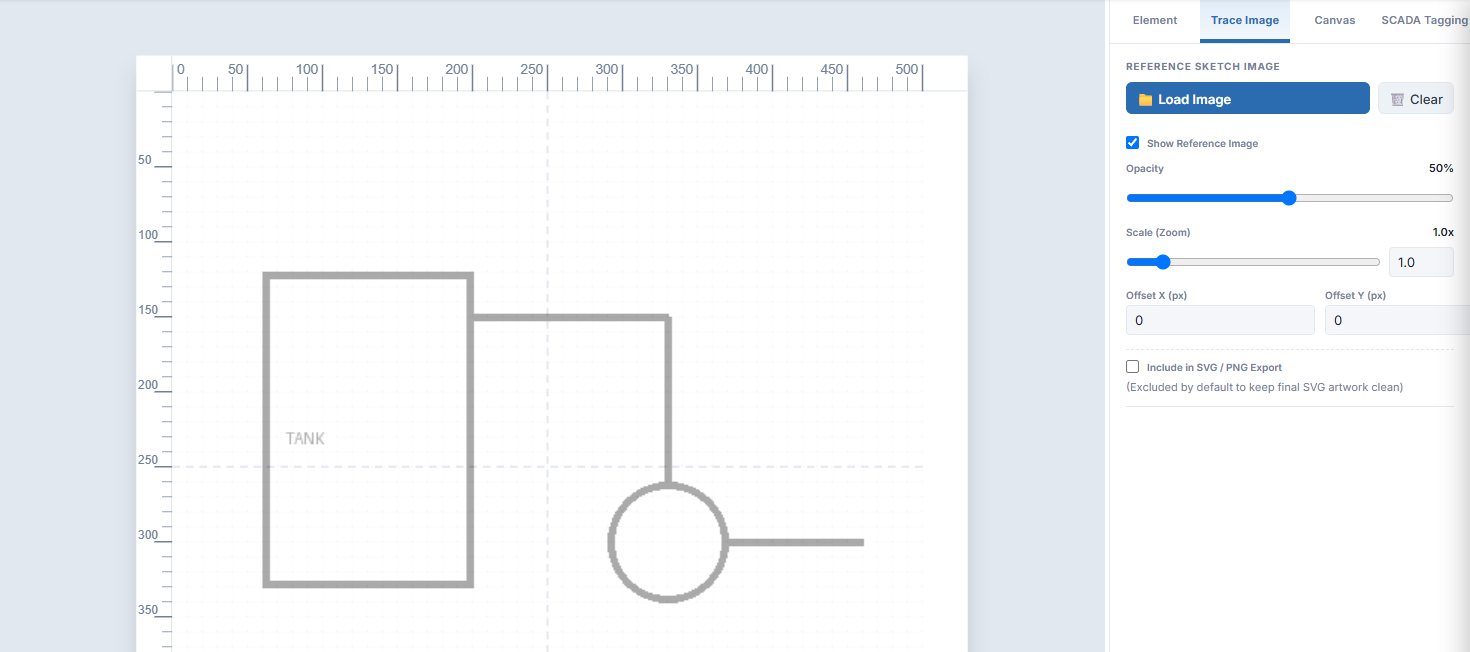
A pale gray sketch of a tank, a pipe and a pump shown on the canvas behind the grid

The controls on the tab let you set it up:

Show Reference Image
Hide or show the picture, so you can check your vector work on its own.
Opacity
Fades the picture. Around 40 to 50 percent keeps it visible without drowning your lines.
Scale (Zoom)
Makes the picture larger or smaller, from 0.1× to 10×.
Offset X and Offset Y
Slides the picture so key points line up with the grid or centrelines.
Include in SVG / PNG Export
Off by default, so your saved files contain only your vector artwork.

Part 3: Trace over it

Now draw over the picture with the shapes from the earlier chapters. Here a Rectangle follows the tank, a Polyline follows the pipe and a Circle follows the pump. For curved outlines, the Bézier Pen is the best tool.
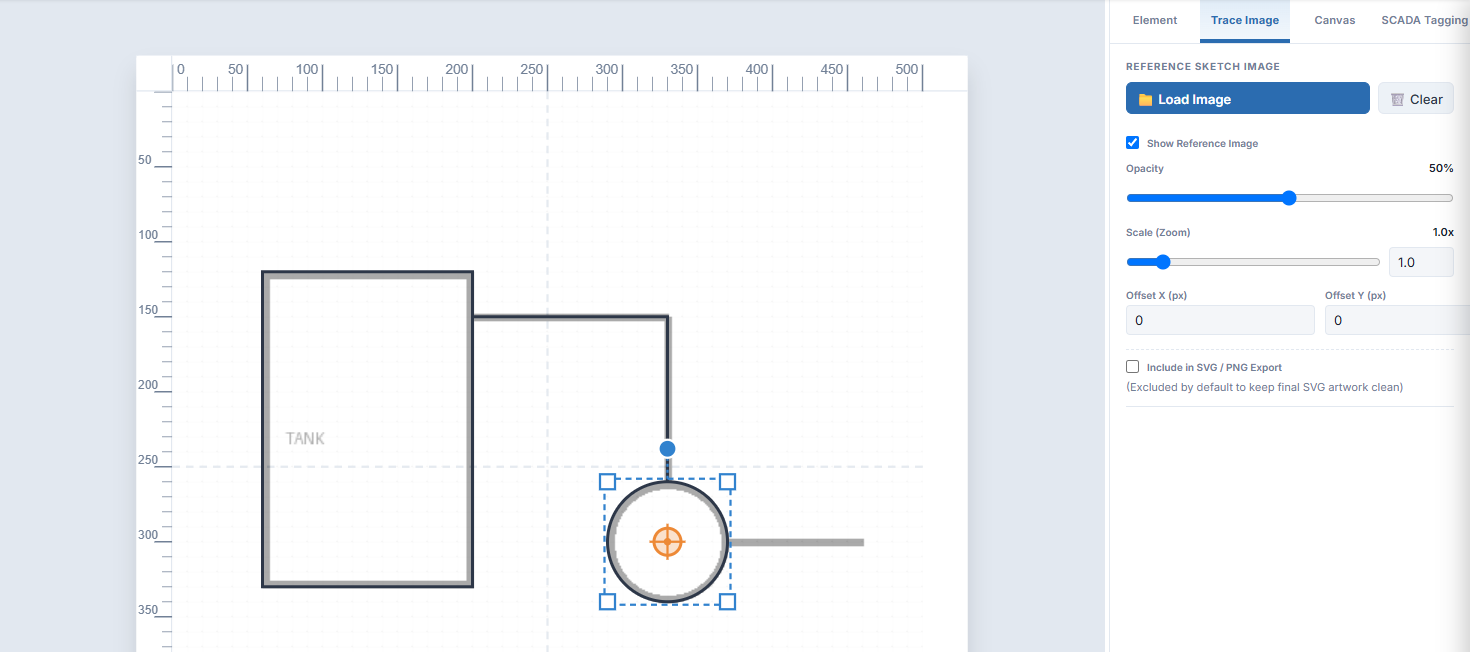
Dark vector outlines drawn over the pale sketch, following the tank, the pipe and the pump
Keep Snap in mind With Snap on, points jump to the grid, which can pull your tracing slightly off the picture. Turn Snap off for the fiddly parts of a trace, or set a smaller grid size on the Canvas tab.

Part 4: Check your work

Untick Show Reference Image to see your tracing by itself.
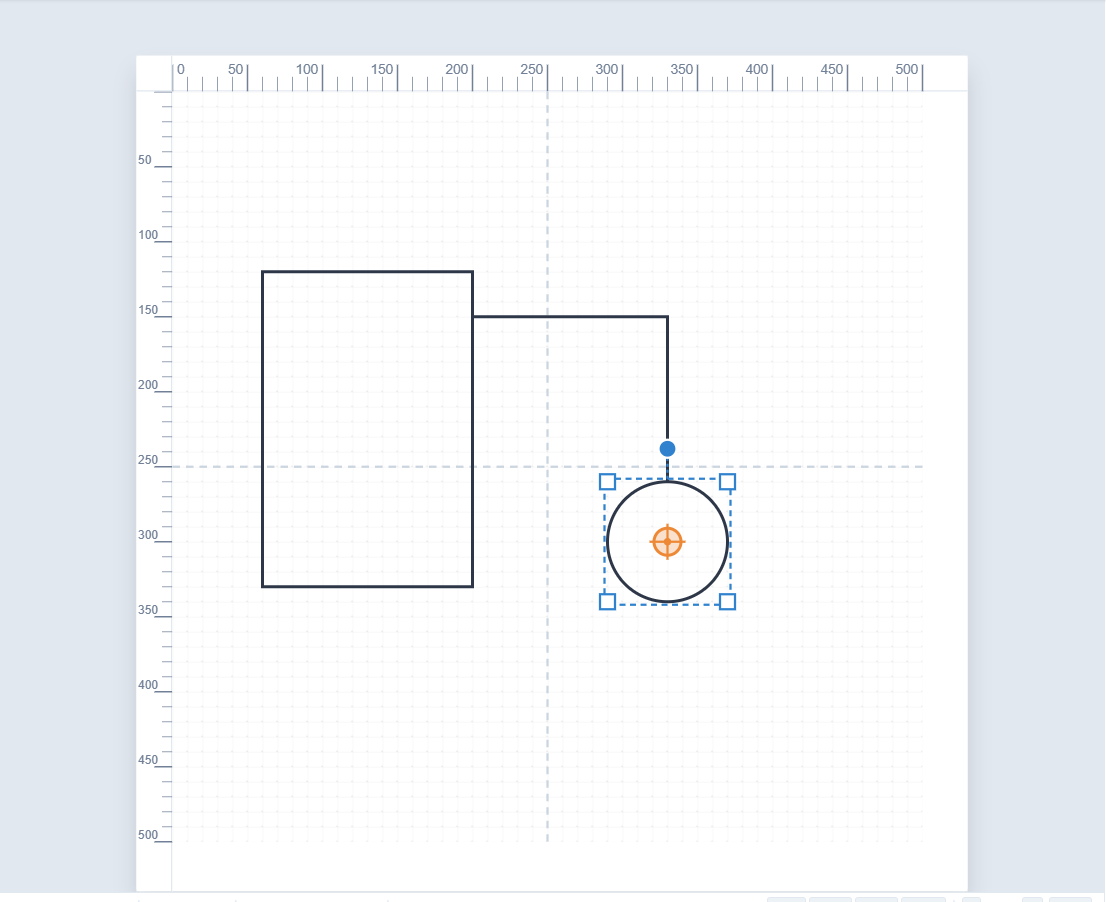
The traced outlines alone on the canvas with the reference sketch hidden

What remains is plain vector shapes. Colour them, group them, give them tags, and save the SVG as usual. The sketch is left out of the saved file unless you tick the export option.

Recap

In the last chapter we give shapes the names and tags a SCADA system can use.

← Chapter 8: Arranging Shapes Chapter 10: SCADA Tagging →